
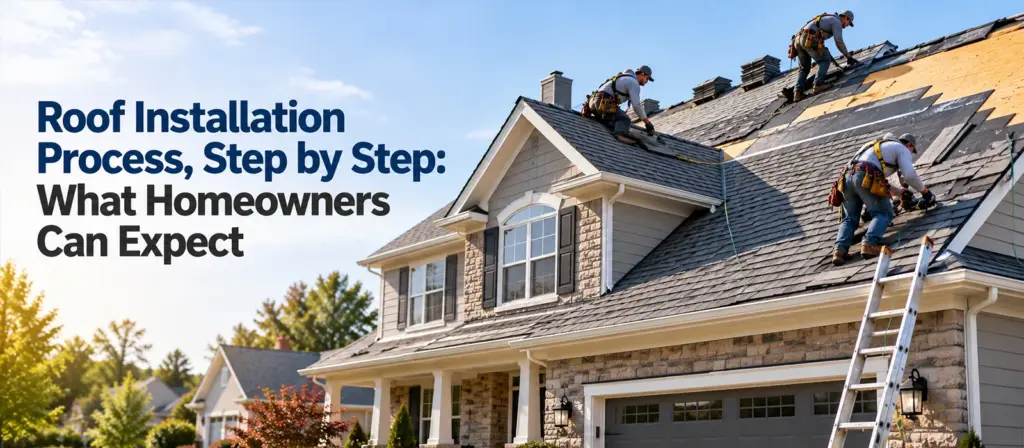
For an existing home, the roof installation process can be broken into eight stages: consultation and inspection, a written quote, scheduling, tear-off, deck inspection and repair as needed, ice and water shield and underlayment, shingles and ridge components, and cleanup with a final inspection.
This guide walks through each stage so you can understand what typically happens before, during and after a roof installation. The exact work can vary based on the roof’s condition, materials, project requirements and local building requirements.
At Northwestern Exteriors Inc., we begin with a consultation and roof inspection, followed by an overview of the roof’s specific needs, a written quote and scheduling after you sign the quote. You can also review our roof installation services for more information.
The following sections explain the typical installation work homeowners can expect, including what happens when the old roof is removed, the deck is inspected and the new roofing system is installed.
What Are the Steps in the Roof Installation Process?
A typical roof replacement can be broken into eight stages, from the initial consultation and inspection through tear-off, installation of the new roofing system and final cleanup.
The first part of the process follows how we document the start of projects at Northwestern Exteriors Inc.; the installation stages that follow describe the typical work involved in a full roof replacement.
Before Installation Begins
1. Consultation and inspection: The process begins with a consultation and roof inspection to understand the roof’s condition and specific needs.
2. Written quote and signing: After reviewing the roof and its needs, you receive a written quote. Once you sign the quote, the installation can be scheduled.
3. Scheduling: The installation is scheduled after the quote is signed.
During and After Installation
4. Tear-off: For a full replacement, the existing shingles and other roofing materials are removed to expose the roof deck.
5. Deck inspection and repair: Once the existing roofing is removed, the exposed deck can be inspected for damage and repaired as needed before new materials are installed.
6. Ice and water protection and underlayment: Ice and water protection is typically installed along vulnerable areas such as eaves and valleys, followed by underlayment across the roof deck.
7. Shingles and finishing components: Starter shingles are installed along the edges, followed by the main shingles working upward toward the ridge. Ridge ventilation, ridge caps and flashing are installed as required by the roof system and manufacturer’s specifications.
8. Cleanup and final inspection: Once the roofing work is complete, the work area is cleaned and the finished roof is checked.
Before Work Starts: The Quote, the Paperwork and the Permit
Before signing, review the written quote and make sure you understand the work and materials included in your project. Northwestern Exteriors Inc. provides detailed estimates and offers roofing materials including asphalt shingles, cedar, synthetic shake and metal, with options from manufacturers such as Atlas, DaVinci, Brava, Owens Corning and CertainTeed.
You can discuss your project, material options and the work involved before moving forward. If your project has local permit or inspection requirements, ask about those requirements during the planning stage so you know what needs to be handled before work begins.
How Does a New Roof Go On, Layer by Layer?
A roofing system is made up of several components that work together to protect the home from rain, wind, snow and changing temperatures. The visible shingles or other roof covering are only one part of that system.
Proper installation also involves moisture protection, underlayment, flashing and ventilation, with the exact combination depending on the roof design and materials selected.
| Layer Or Component | What It Is And What It Does | Where It Goes |
| Roof deck | The base that supports the roofing system. Its condition is important before new roofing materials are installed. | Beneath the other roofing layers, across the roof structure |
| Ice and water shield | A moisture barrier that provides added protection against water intrusion in vulnerable areas. | Commonly installed along eaves, valleys and other areas that need additional protection |
| Underlayment | A protective layer that provides an additional barrier against moisture beneath the roof covering. | Over the roof deck and beneath the shingles or other roof covering |
| Flashing | A protective component that helps direct water away from areas where the roof meets another surface or where there are openings in the roofing system. | Around roof penetrations, joints, valleys and other vulnerable areas |
| Roof covering | The main exterior material that protects the home and sheds water. Options can include asphalt shingles, cedar, synthetic shake or metal. | Across the roof surface, over the protective layers |
| Ventilation | A system that helps control heat and moisture in the attic, supporting the performance and longevity of the roofing system. | Within the attic and roof ventilation system |
| Ridge components | Ridge vents can provide an outlet for attic air, while ridge caps protect the highest point of the roof from weather. | Along and over the roof ridge, when included in the system |
The exact materials, components and installation details can vary from one roof to another. A proper installation considers the entire roofing system rather than treating the roof covering as a standalone component.
How Long Does a Roof Installation Take?
Most roofing installations can be completed in a few days to a week, depending on the size and complexity of the project. The consultation, roof inspection, review of the project’s specific needs and signed quote come before scheduling.
Once work begins, the installation itself may take several days, depending on the project. Weather conditions can also affect the schedule and may require adjustments to the installation timeline.
If a local permit or inspection is required for your project, those requirements may add time to the overall project schedule
Cleanup, Final Inspection and Your Warranty
Once the roofing work is complete, the old materials are removed, the new roofing system is installed and the work area is cleaned up. A final review helps confirm that the completed work meets the project requirements before the installation is considered finished.
Two types of warranties may apply to a new roof. The manufacturer’s warranty generally covers defects in the roofing materials, while a workmanship warranty covers issues related to the installation. New roofs are backed by a 5-year workmanship warranty.
For more on installation quality and the problems that can result from poor workmanship, see our guide on how quality installation prevents costly roofing mistakes.
Ready to Plan Your Roof Installation?
Before your roof installation begins, have the roof’s approximate age, any known leaks or ceiling stains, and your material questions ready for the consultation. Once you receive the written quote, review the proposed work and materials so you know what is included in the project.
If you’re planning a roof replacement in Plainfield or another community we serve, you can review our roof installation services or call (630) 360-4550 to discuss your project and request an estimate.